
自己在初次尝试的过程中遇到很多错误,官网上又没有太多细节,网上其余资料也参差不齐,所以这里基于自己的经验做一个总结,以下步骤经过自己多次测试,供参考以便少走一些弯路。
官网传送门:🚪Building Tomcat
github 上克隆源代码并切换到指定版本分支
git clone https://github.com/apache/tomcat.git
cd tomcat && git checkout 10.0.x
安装ant
brew install ant执行
ant ide-intellij构造IDEA project. 这一步主要是会生成一个.idea目录, 以及下载一些依赖到${user.home}/tomcat-build-libs目录。ant ide-intellij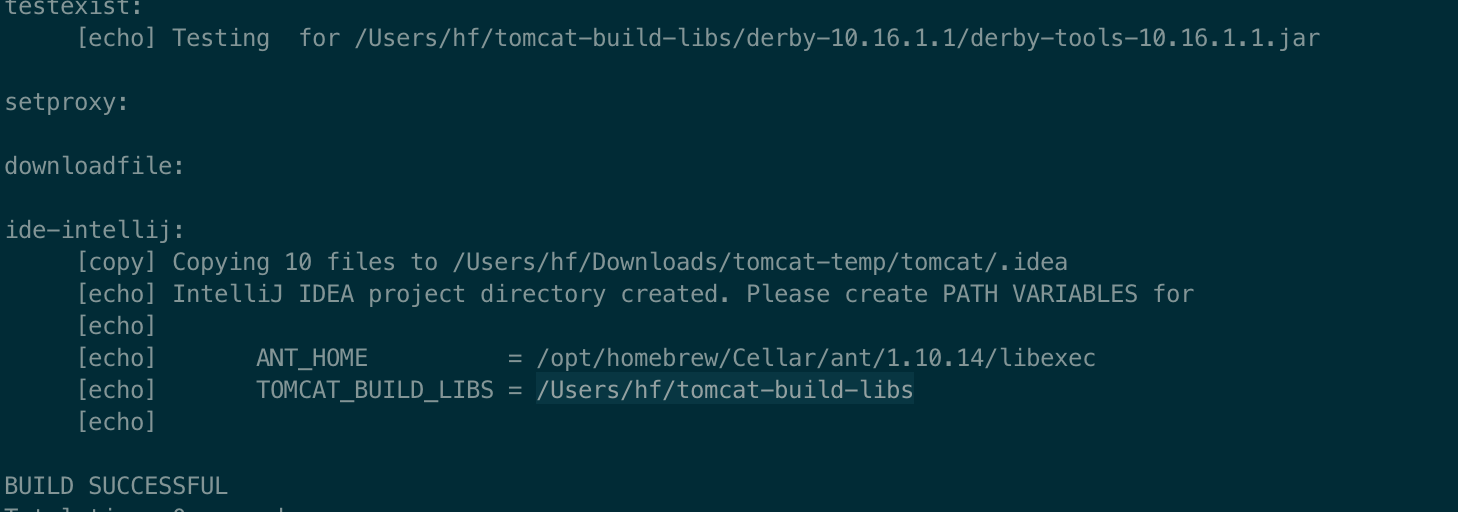
命令结束后结尾处可看到让配置PATH VARIABLES。
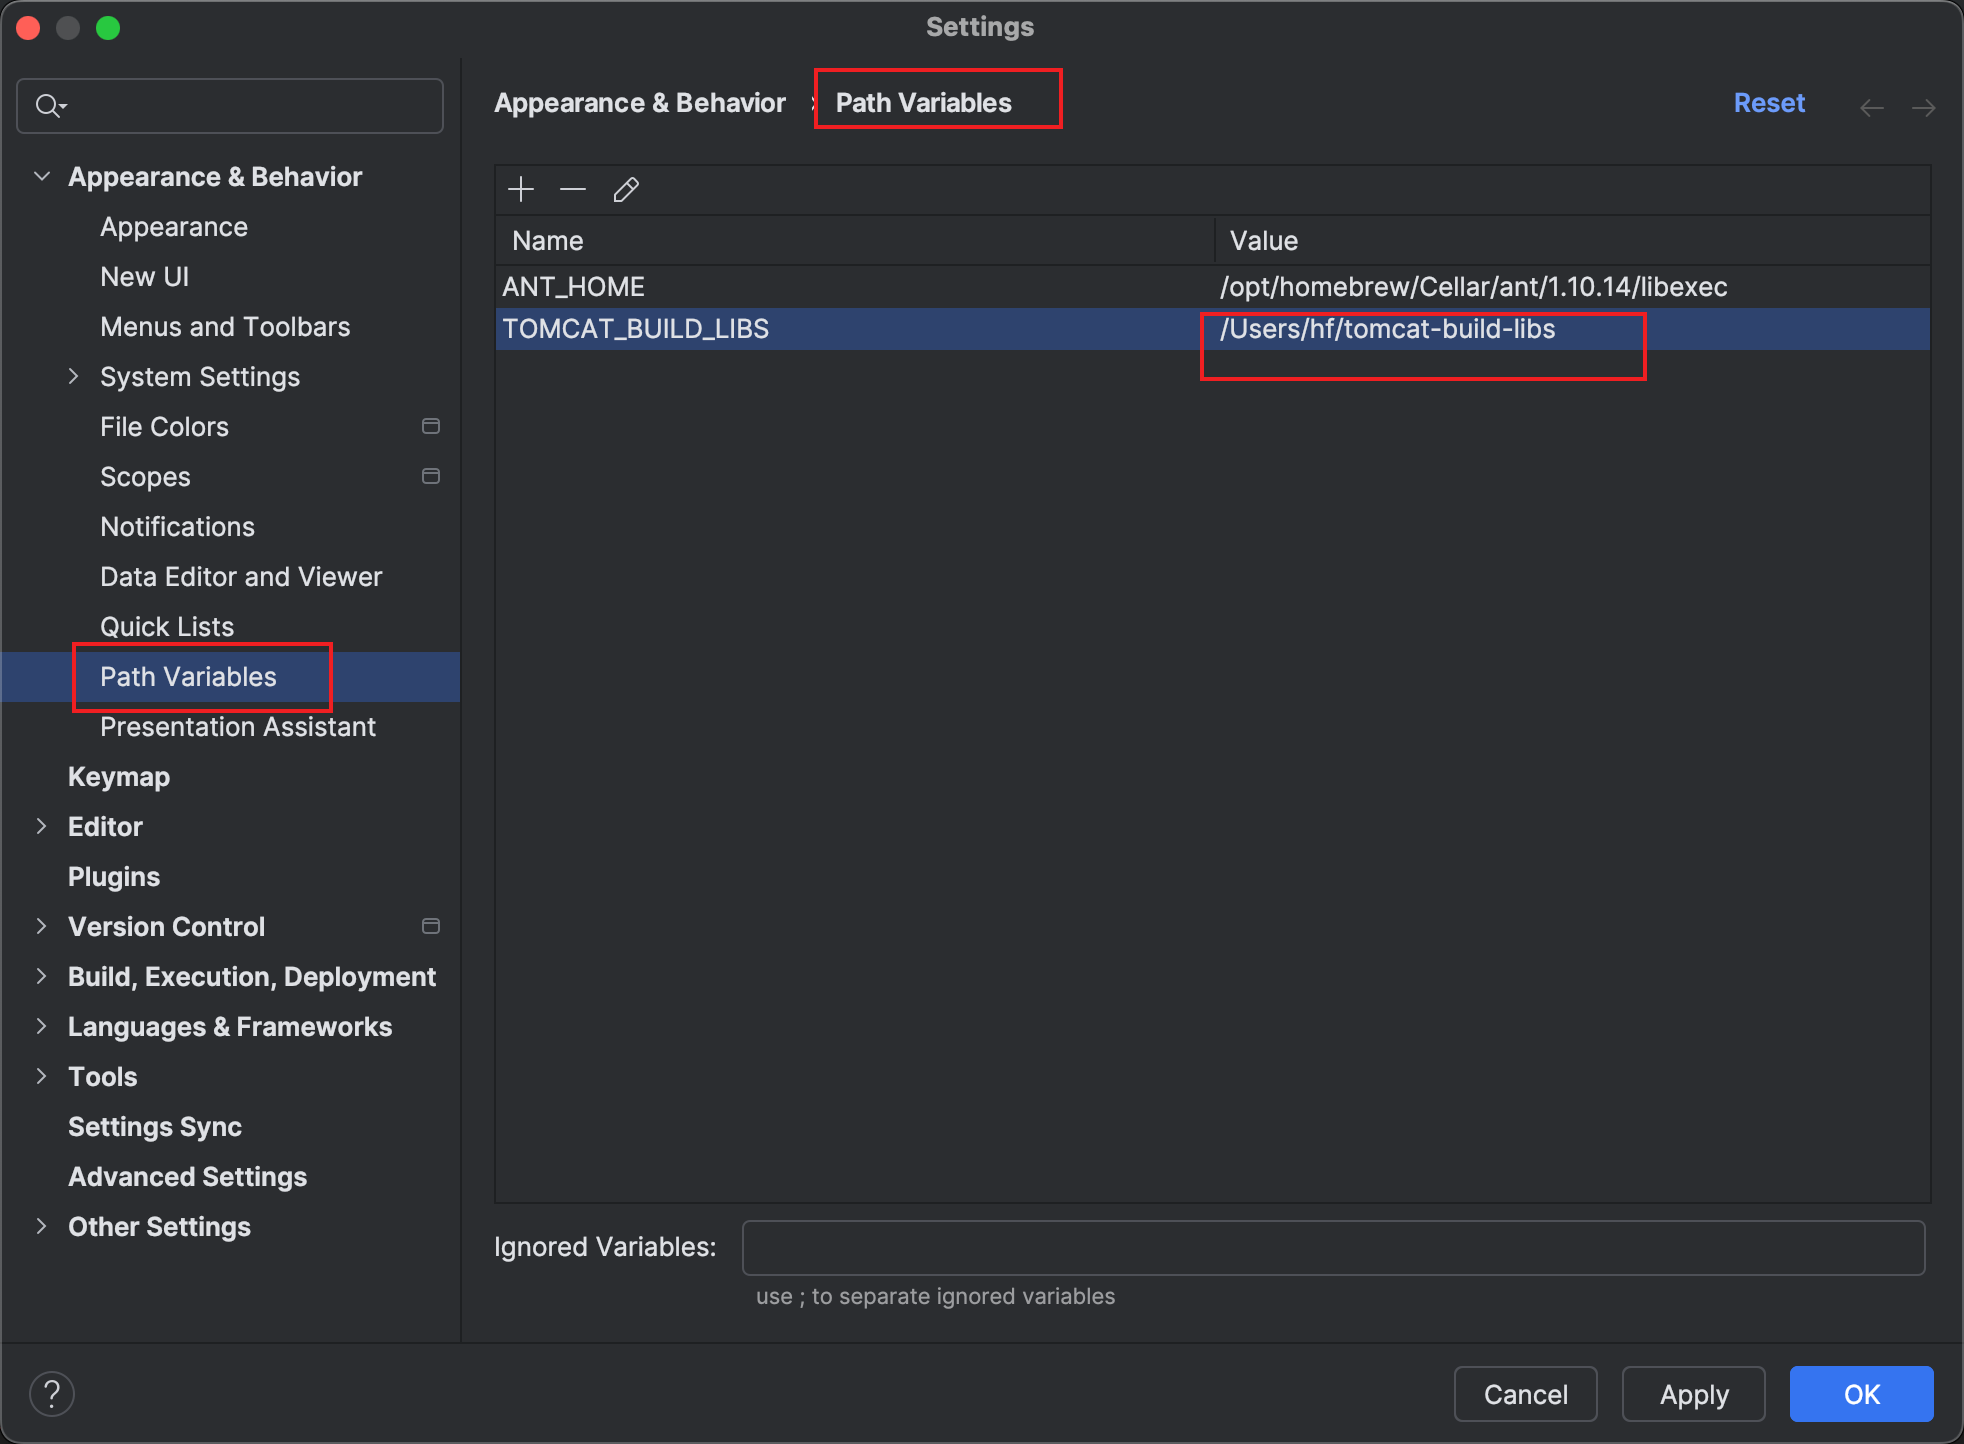
IDEA 配置PATH VARIABLES
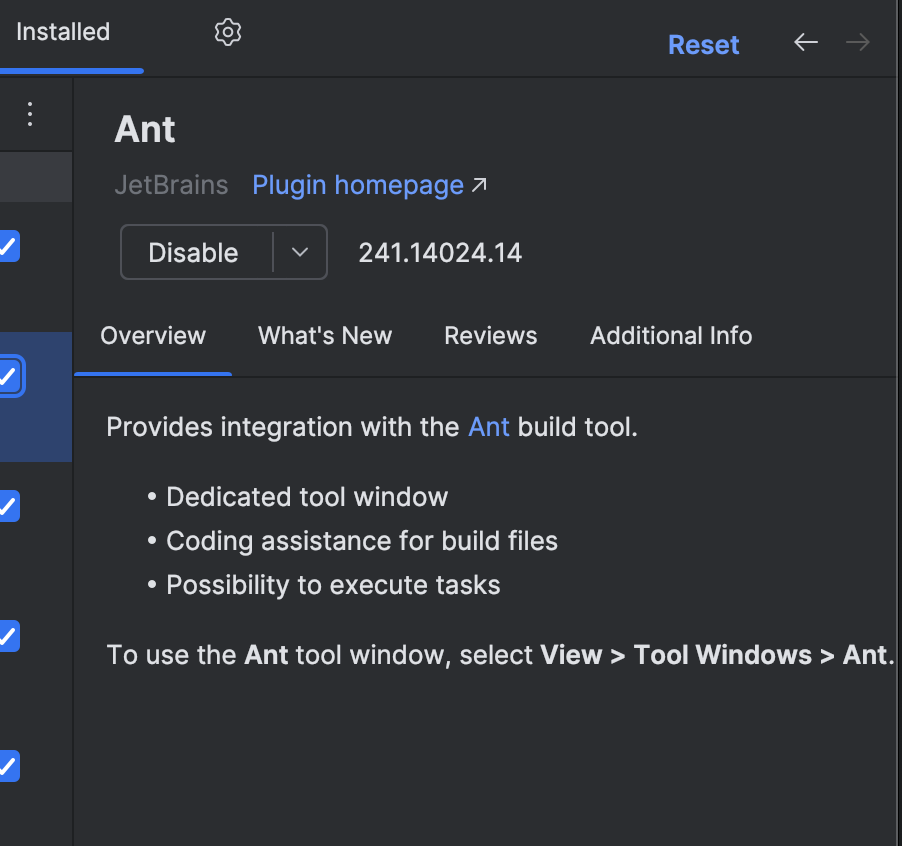
IDEA 安装ant 插件
IDEA 打开tomcat 目录
选中根目录
tomcat然后点openIDEA配置Project Structure, 将
${user.home}/tomcat-build-libs添加到Libraries下面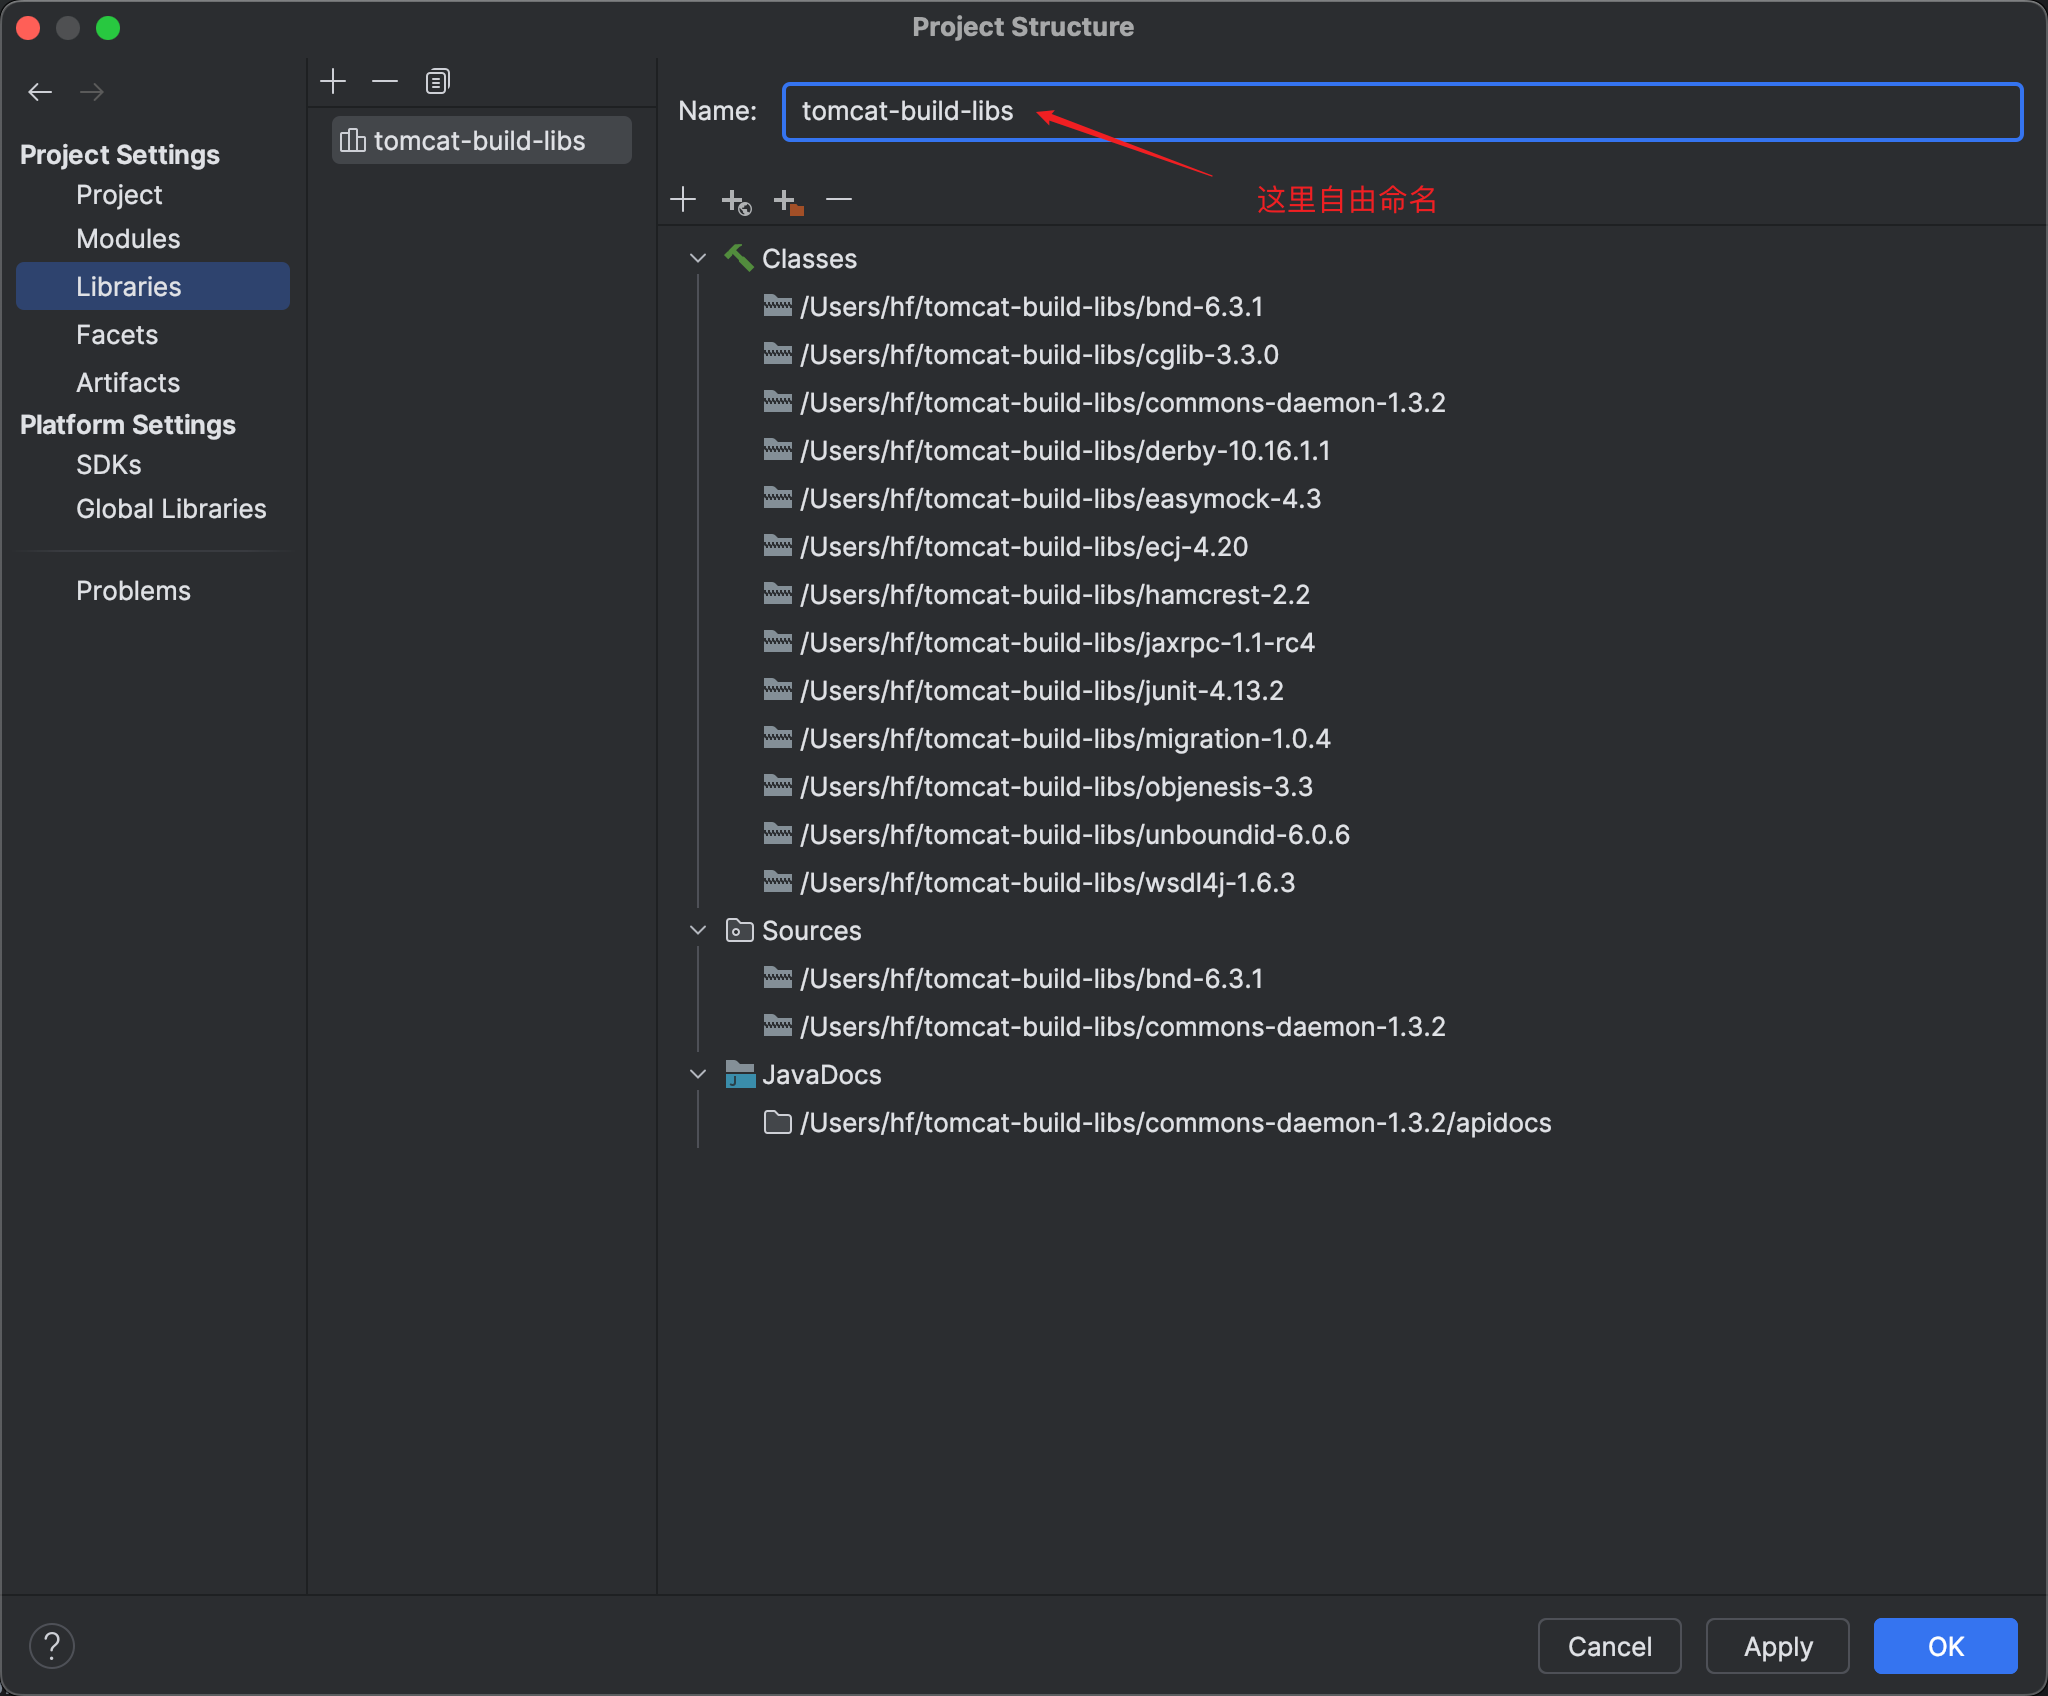
点击➕ —> Java —> 找到
${user.home}/tomcat-build-libs—> 将下面的子文件夹全选运行ant, 编译
ant
运行完后会产生一个output目录
output/
├── build
├── classes
├── i18n
├── jdbc-pool
└── manifests
Run configurations 以及设置VM options.
找到
org.apache.catalina.startup.Bootstrap, 运行其main方法,在run configurations 中添加VM options:-Dcatalina.home=/Users/hf/Downloads/tomcat-temp/tomcat/output/build -Dcatalina.base=/Users/hf/Downloads/tomcat-temp/tomcat/output/build其中目录地址就是第8#中output 下面build 文件夹地址, 注意要求java 8 及以上。
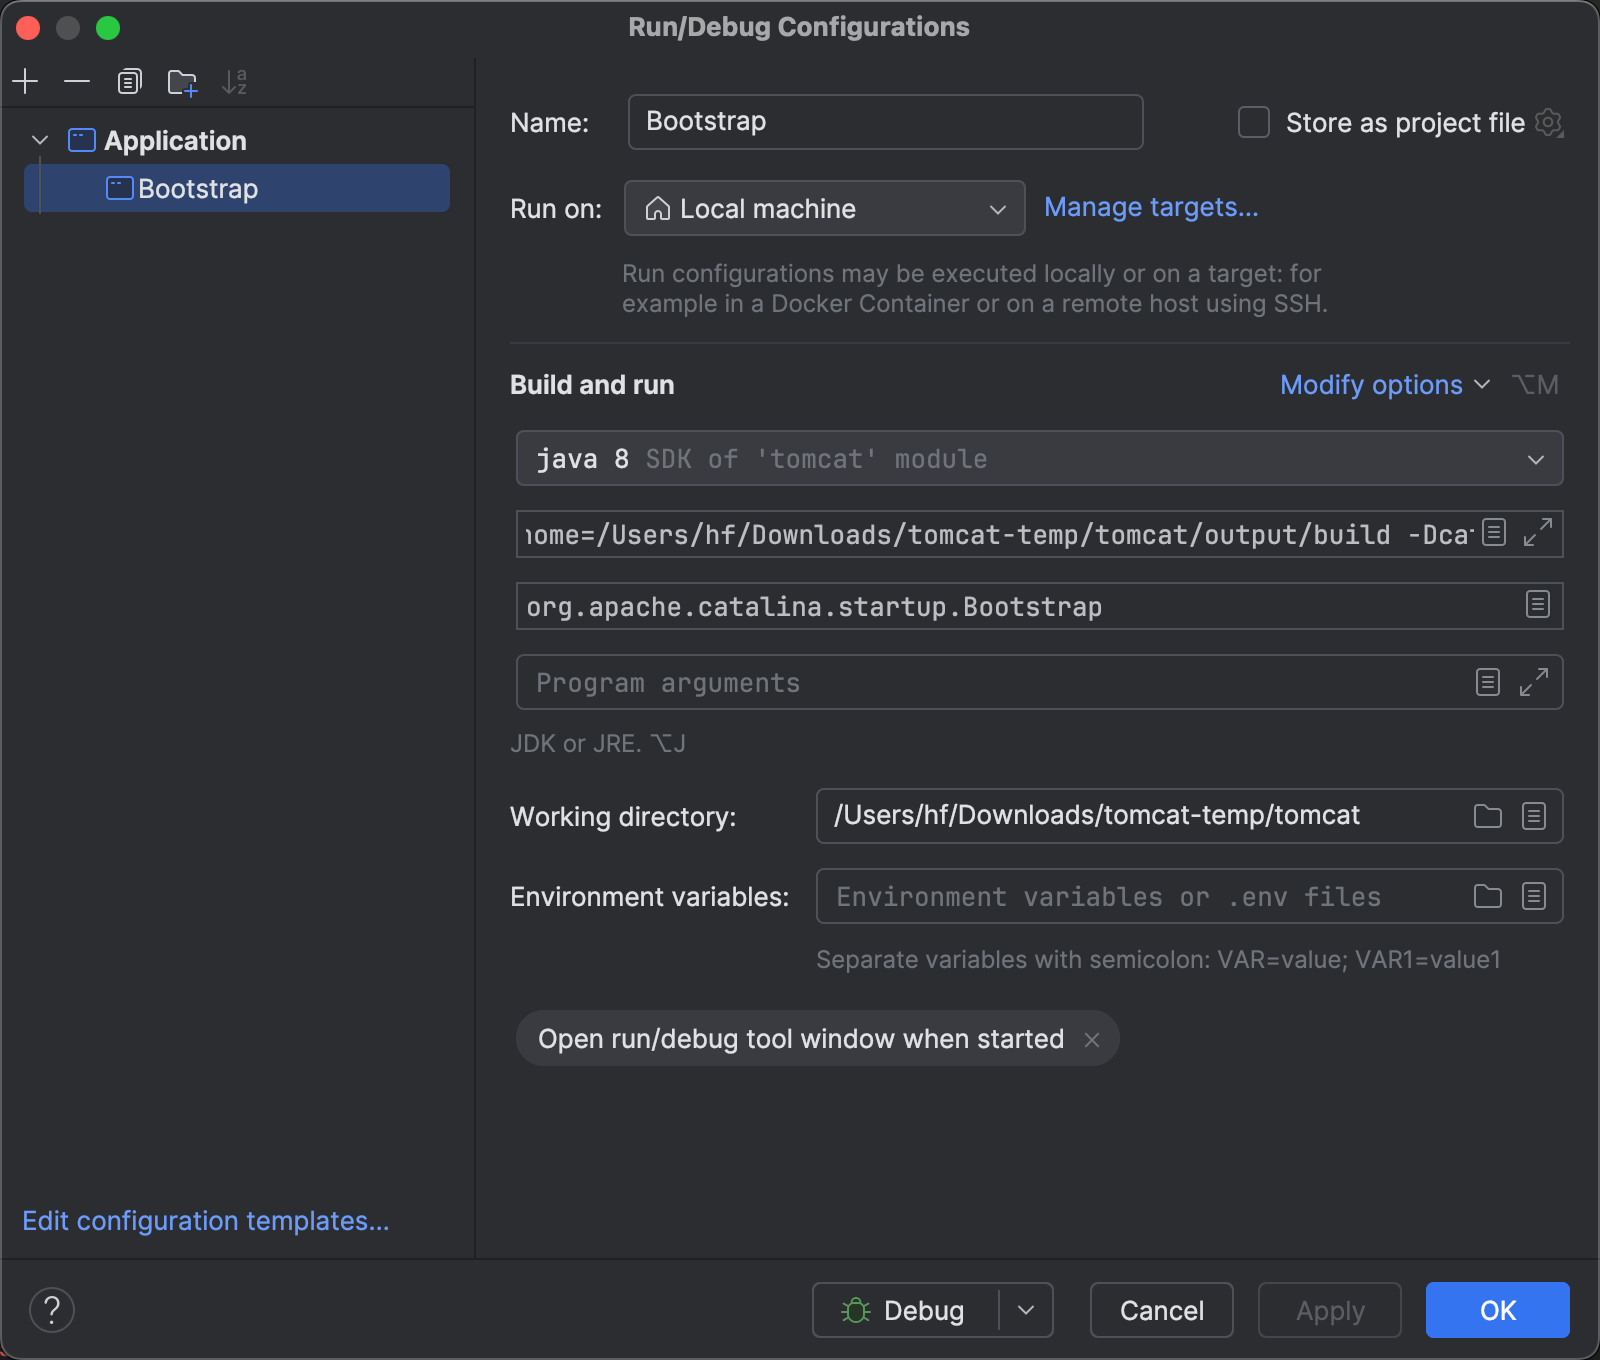
运行org.apache.catalina.startup.Bootstrap main方法,及浏览器访问http://localhost:8080/测试。
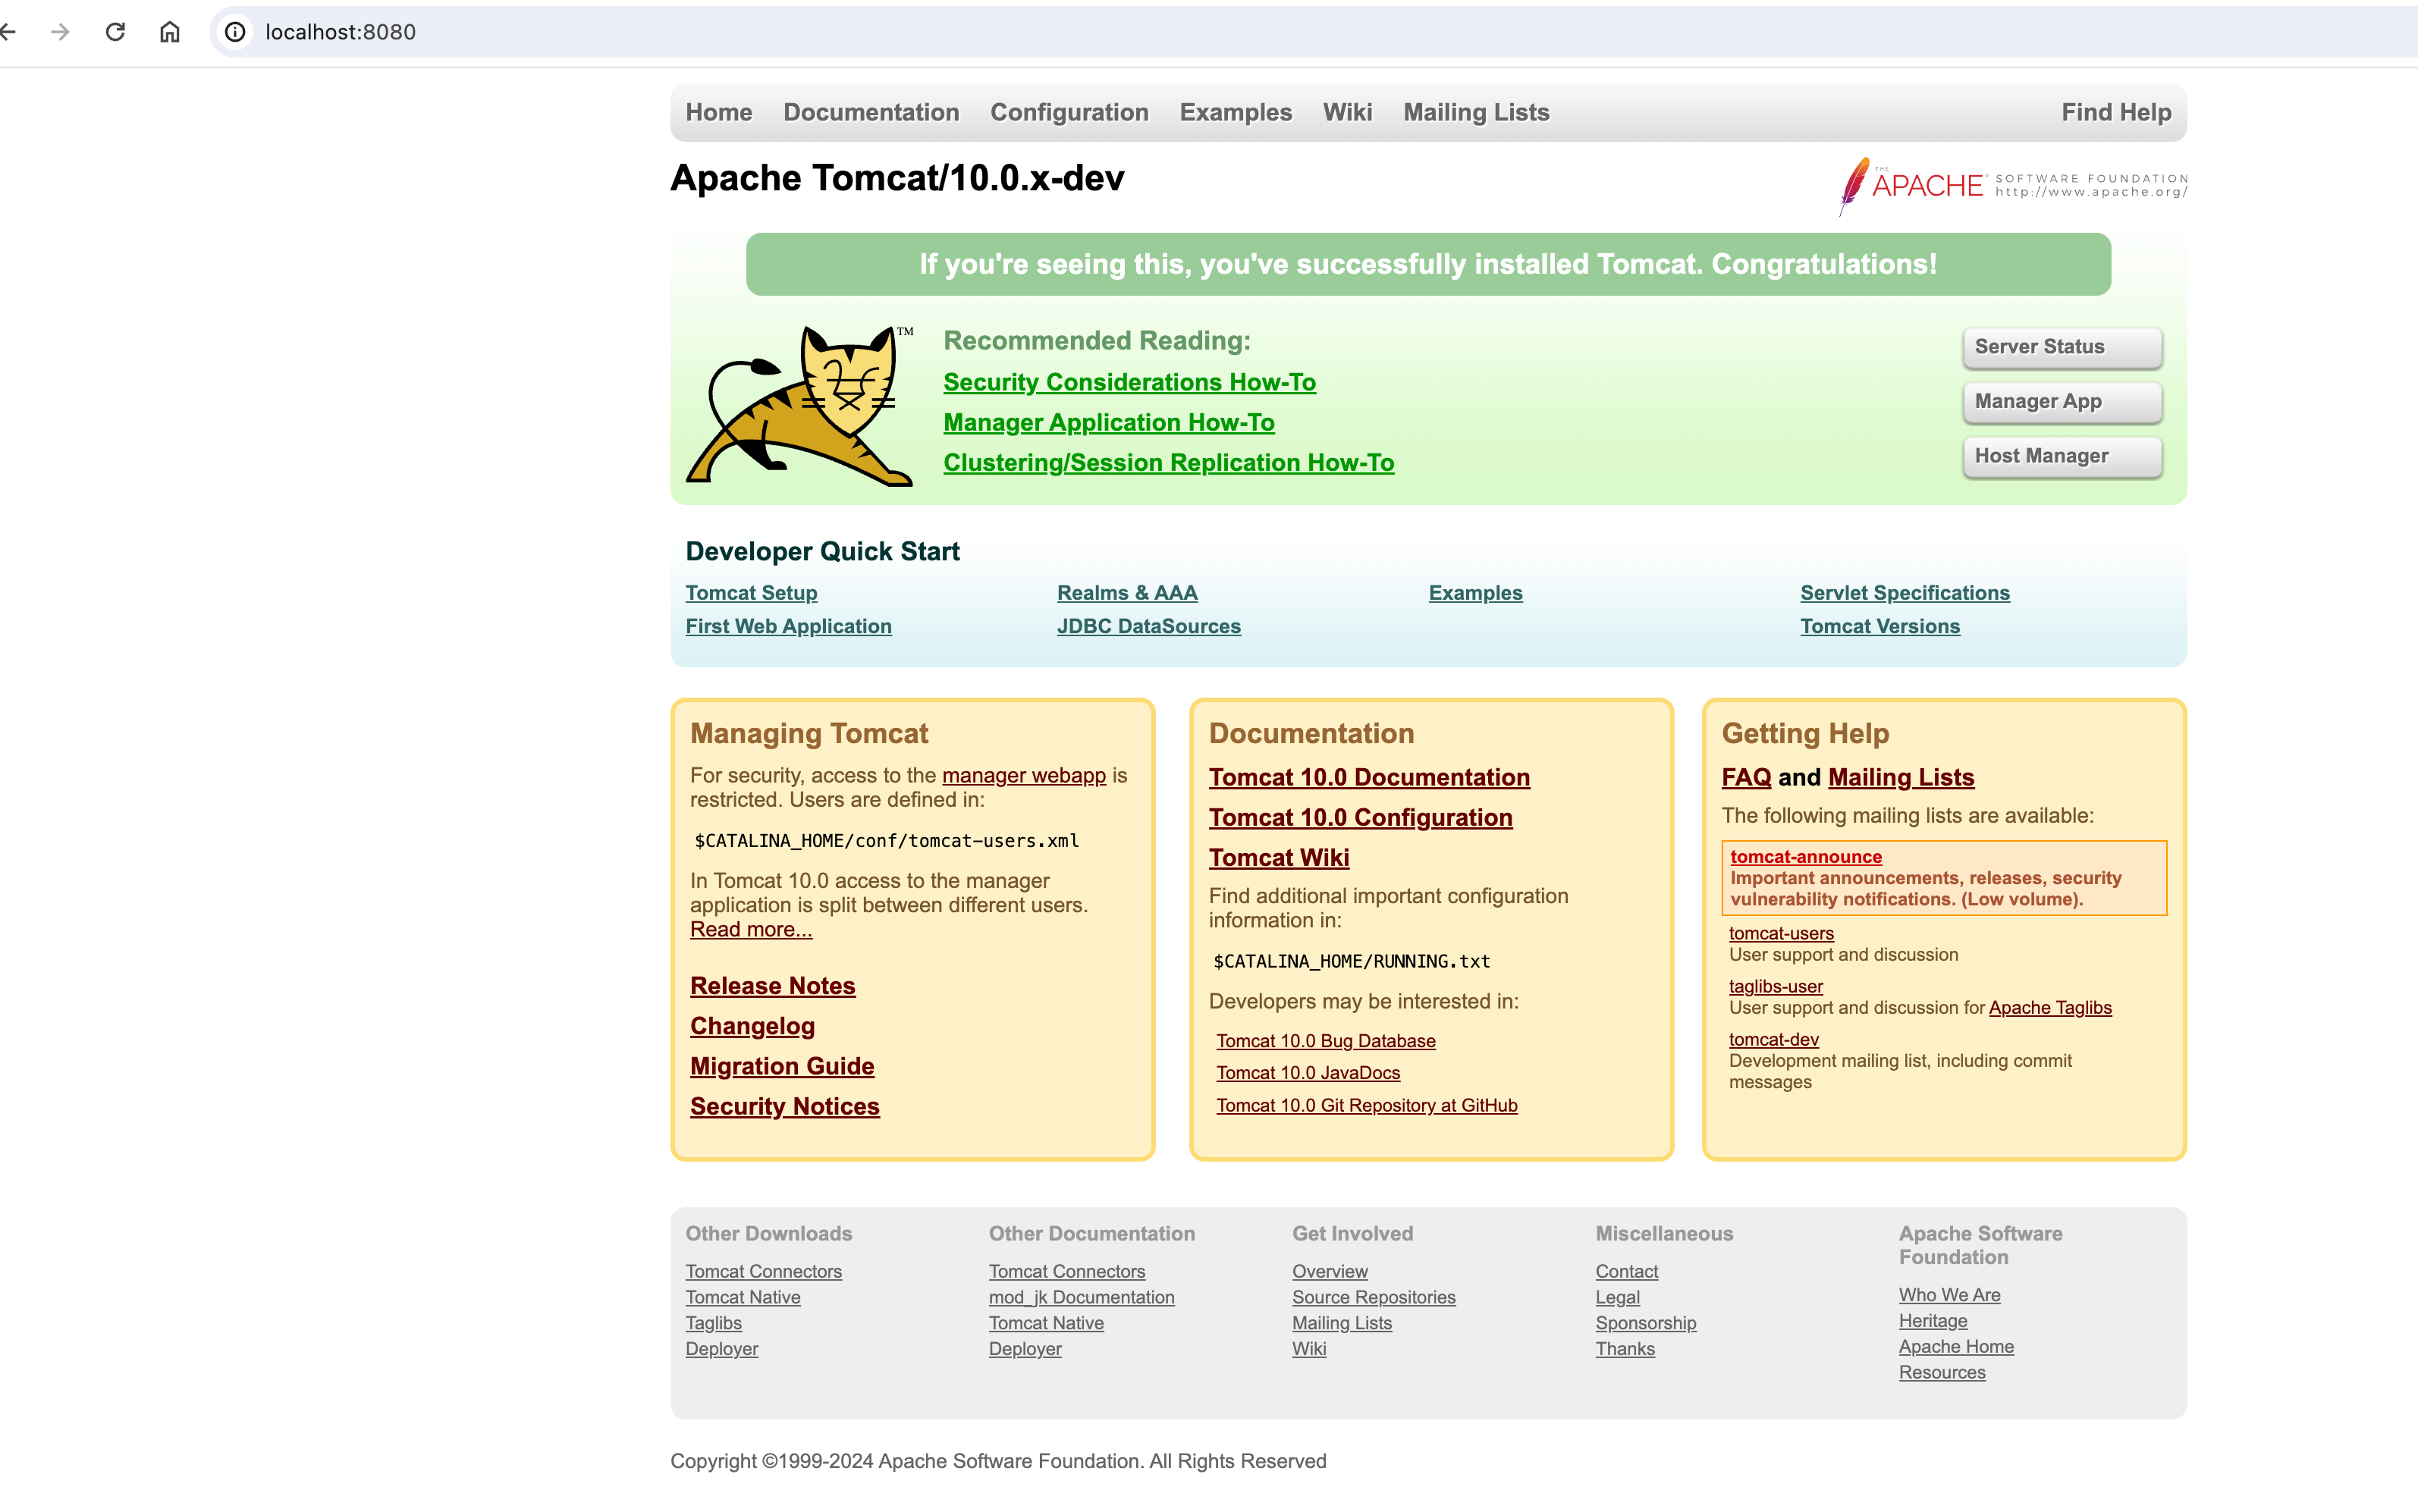
看到这个页面说明启动成功。